
How to create a custom contact role
Updated about 2 months ago
Browse All
Togetherly used to offer four fixed contact roles. Now you can create your own — a Counsellor, a Befriending Coordinator, whatever fits the way your team works — and decide exactly what each role can do.
Before you start
- You need to be an account administrator for the account you're working in.
- Know which people the role is for — the ones you support, or your own staff and volunteers.
- Have the role name in mind so you can type it straight in.
Steps
Open Contact Roles
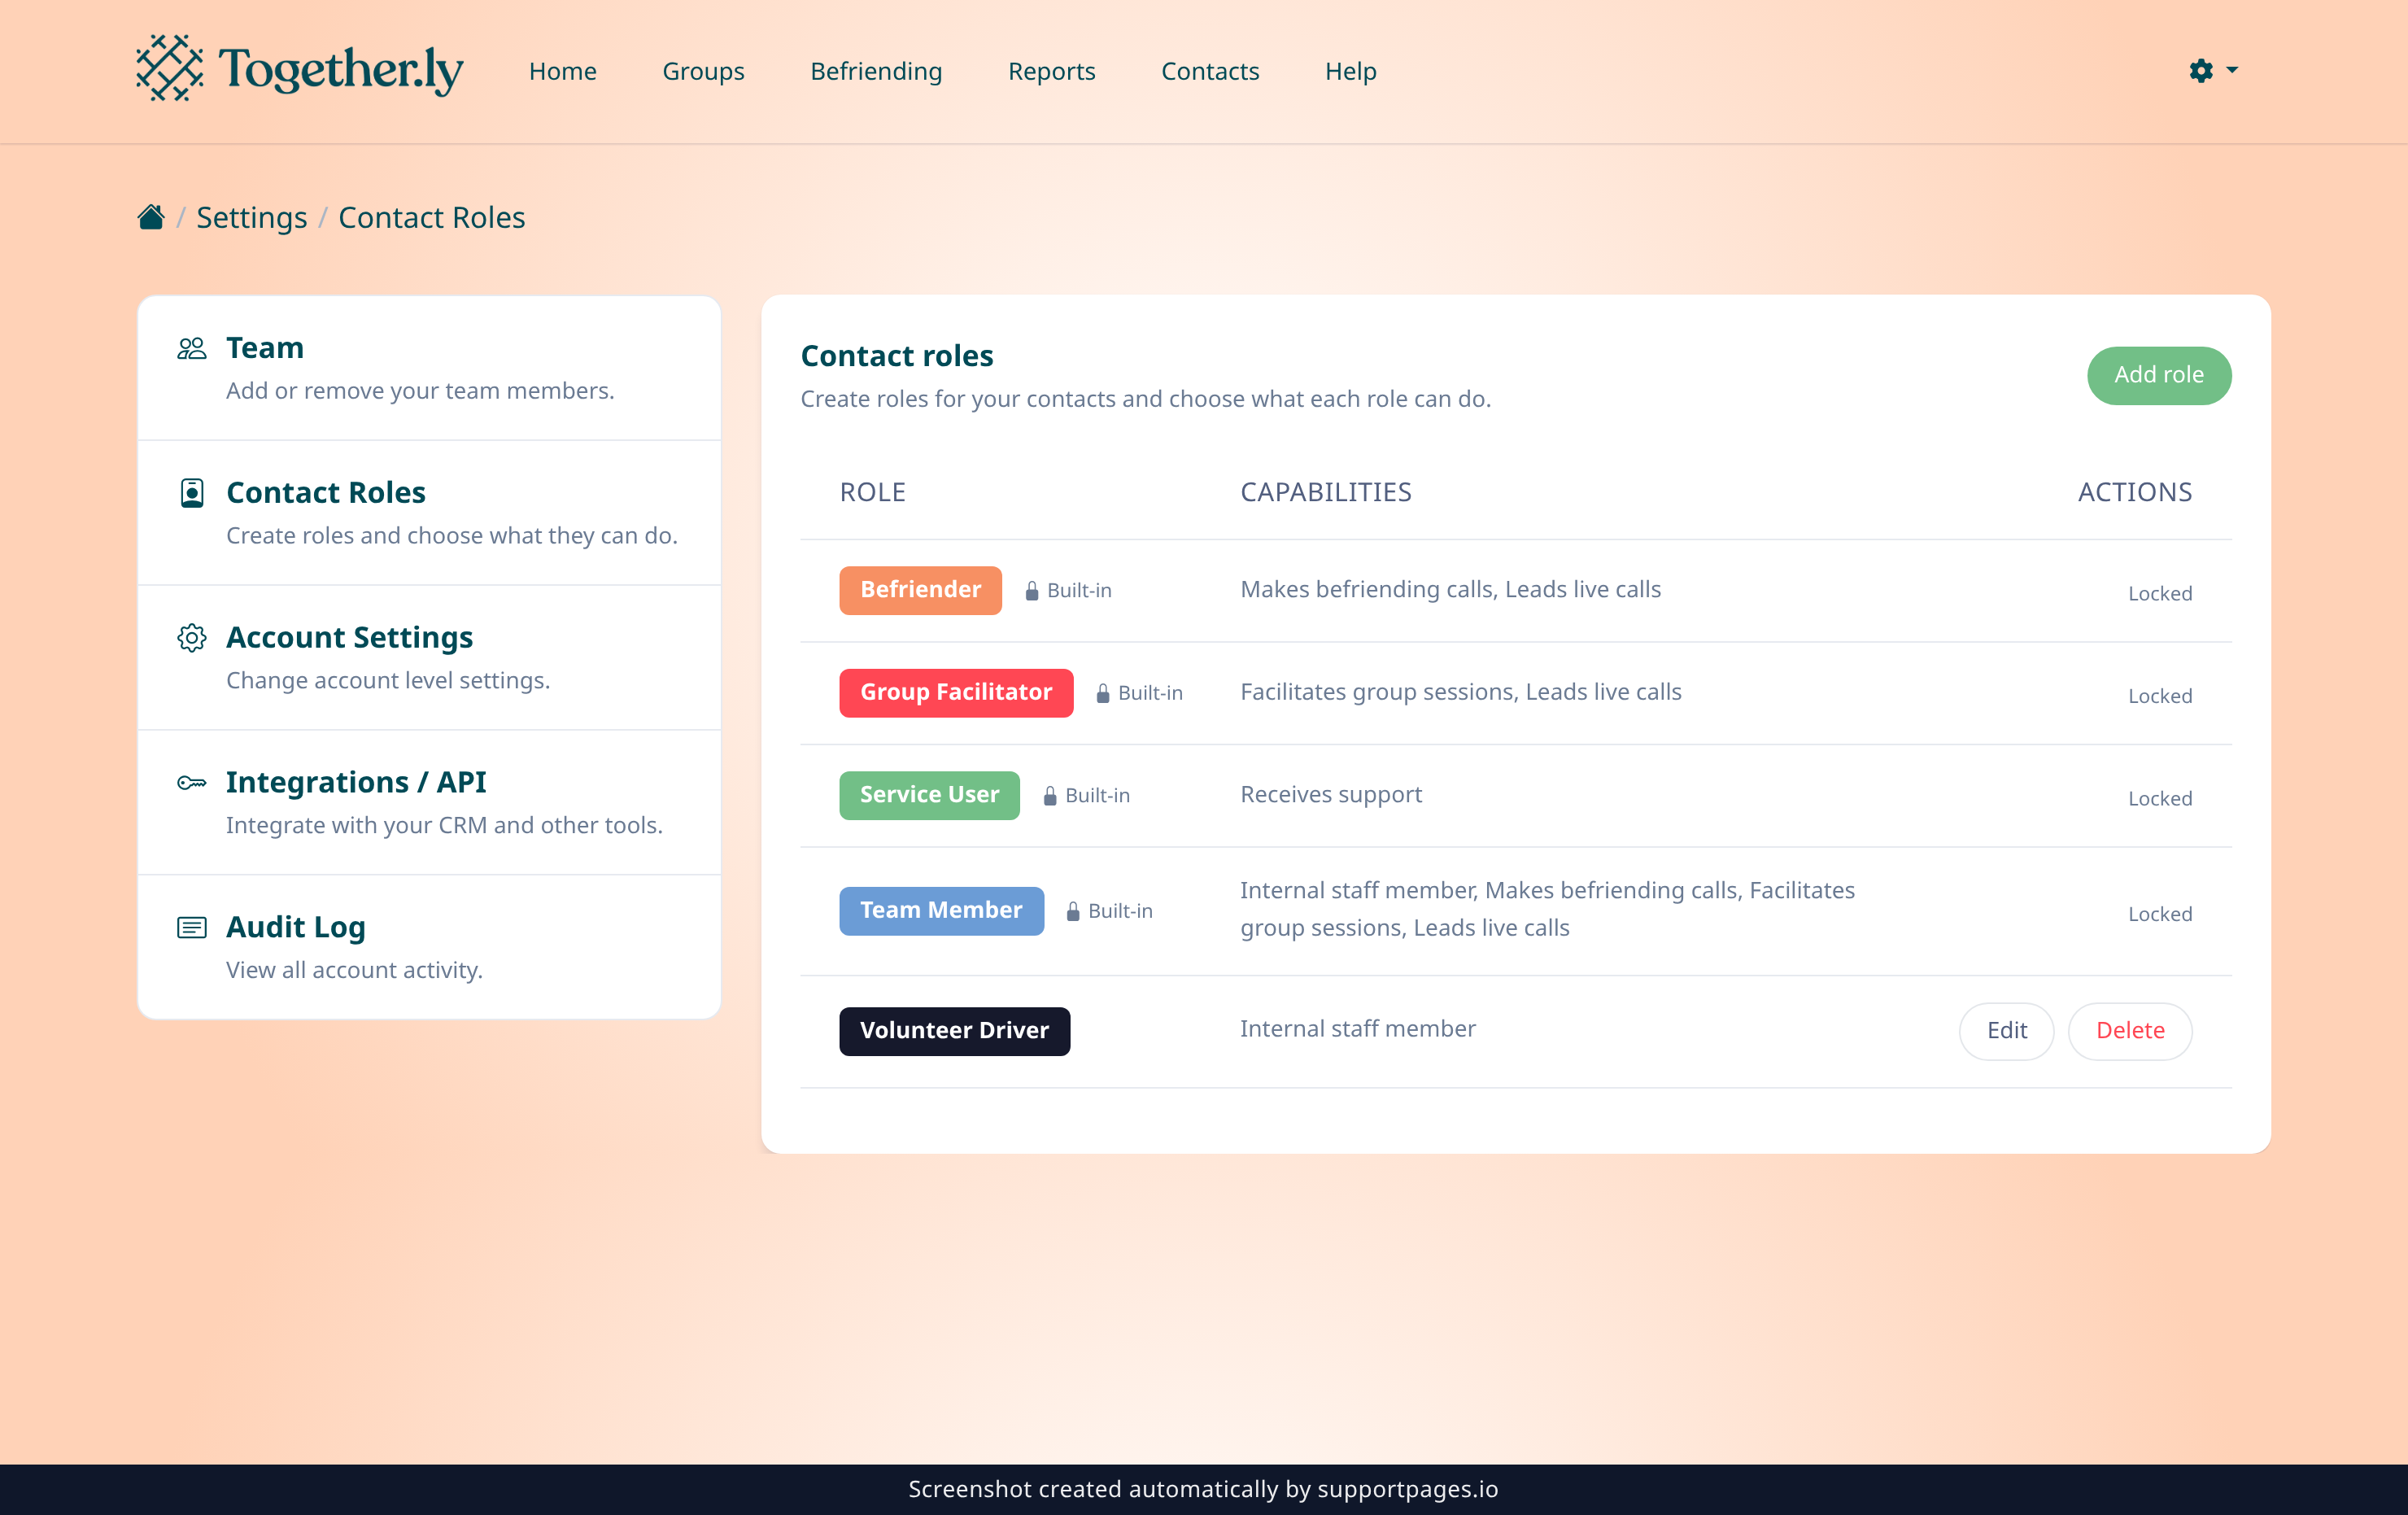
Open the cog menu in the top right and choose Settings. On the settings page, select Contact Roles. When the list appears, select Add role to start a new one.
Name your role and choose what it can do
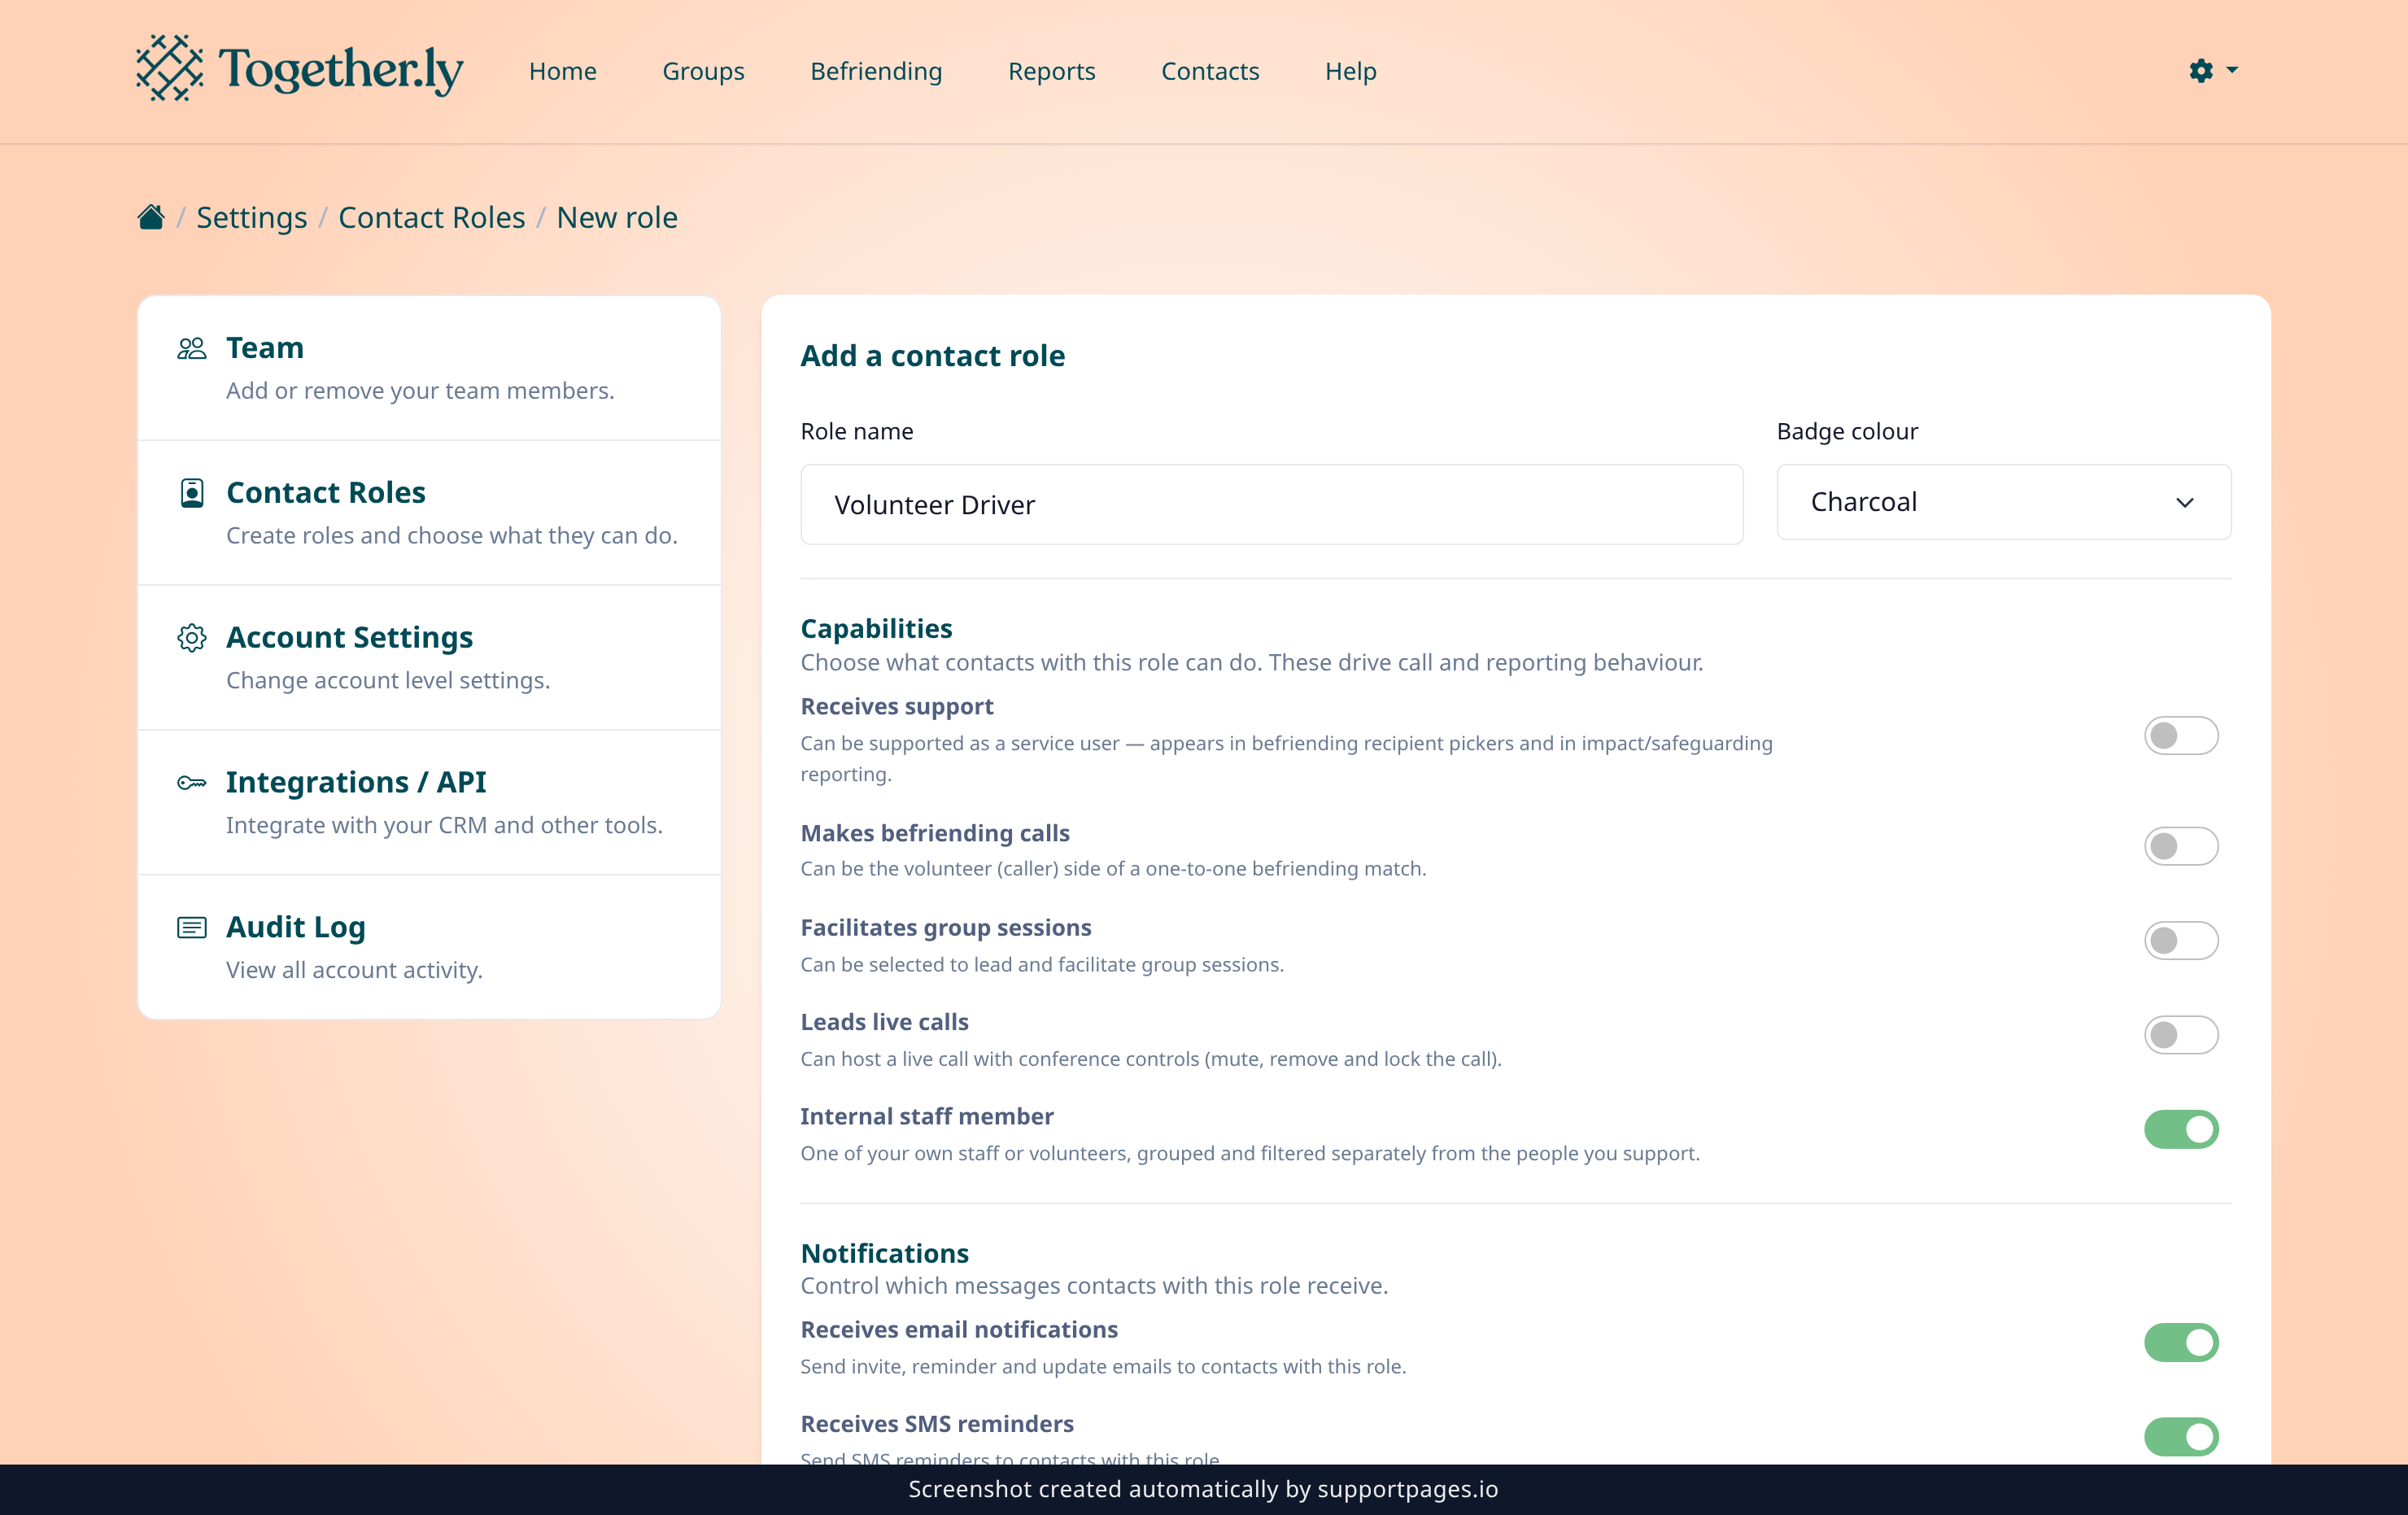
Type a Role name, then pick a Badge colour — that's the colour its badge shows on your contacts list. Under Capabilities, switch on whatever this role should be able to do: Receives support, Makes befriending calls, Facilitates group sessions, Leads live calls, or Internal staff member.
Set notifications and create the role
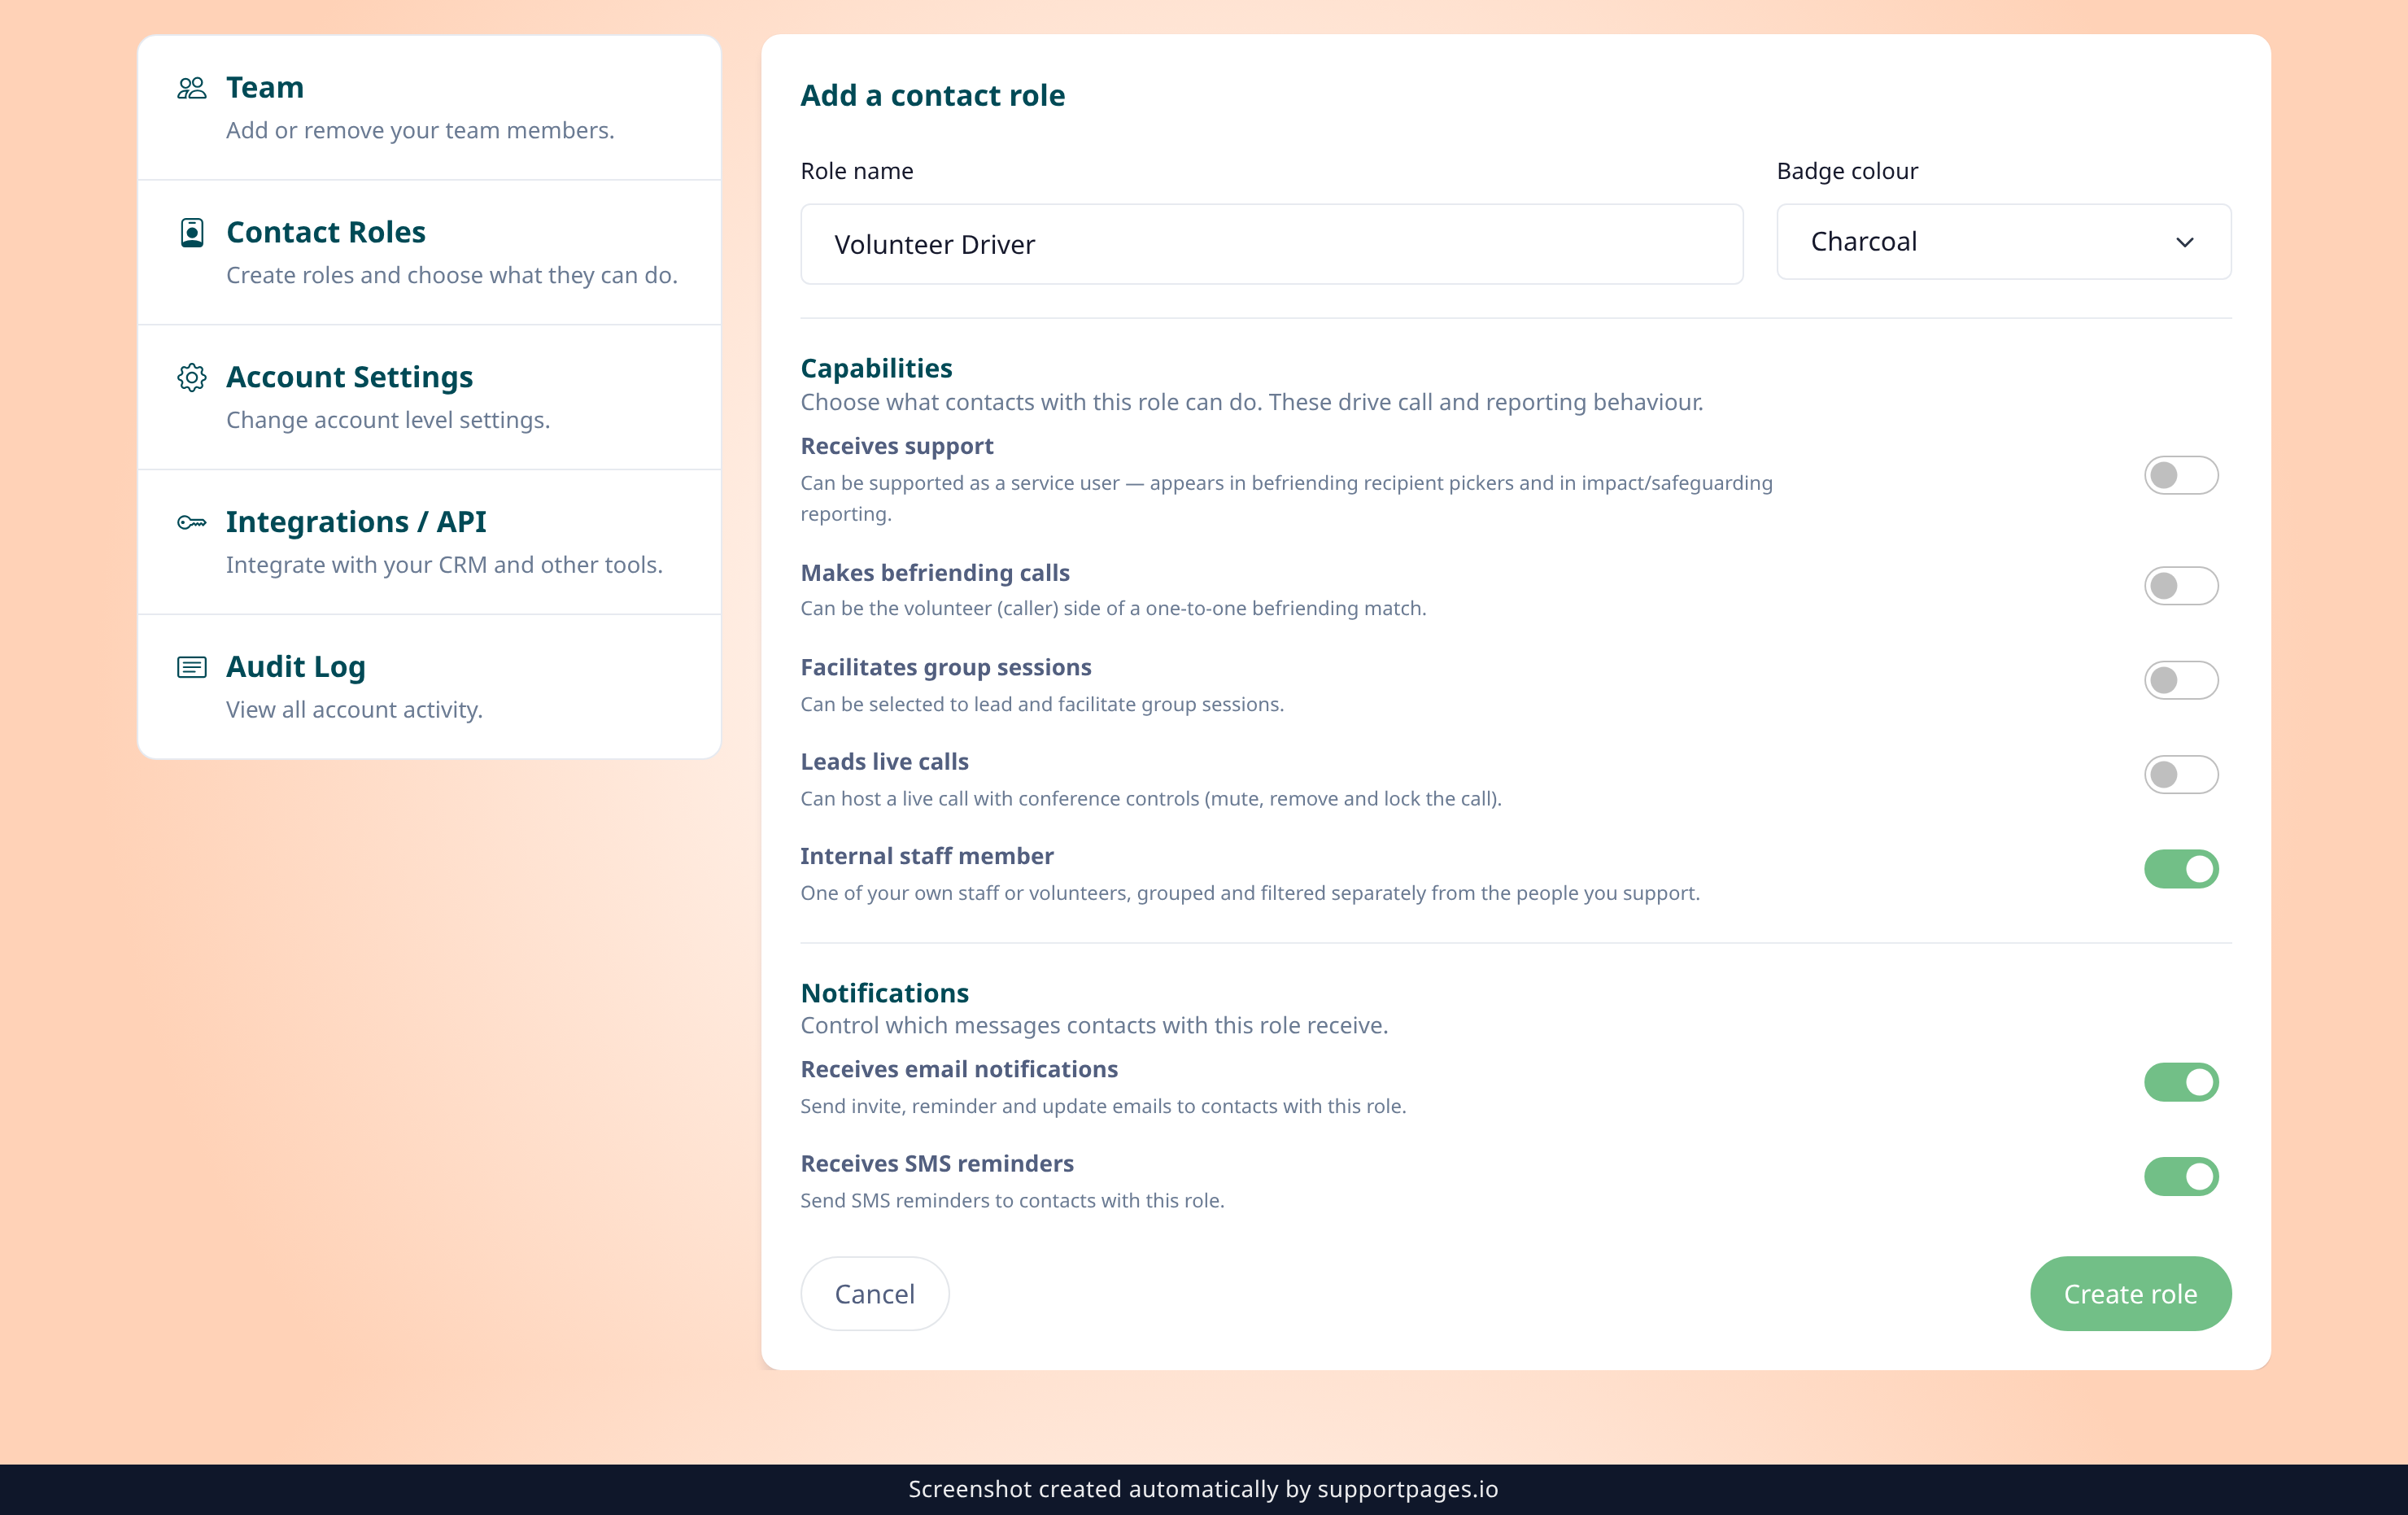
Under Notifications, leave Receives email notifications and Receives SMS reminders switched on, or turn either one off if these contacts shouldn't get them. Then select Create role to save it.
Tips
- Your new role appears in the Contact roles list straight away and is ready to assign when you add or edit a contact.
- If a contact holds several roles, they only miss an email or an SMS when every one of their roles has that switch turned off.
- The four built-in roles — service user, befriender, facilitator, and team — are locked. You can't rename or delete them, and new roles can't reuse their names.
Summary
That's it — give the role a name, choose its colour and capabilities, and it's ready to use. You can edit or delete any role you create whenever you need to.
Was this article helpful?
Maintained by supportpages.io, a self-updating help centre for SaaS teams.
Have a question?
Search our articles, or ask and get an answer straight away.